Showing posts with label wedding. Show all posts

Wednesday, January 22, 2014

Scherenschnitte and Pergamano

Yesterday I was looking through a pad of paper when I found a scherenschnitte piece I had cut several days earlier and put in the pad to flatten.  This pattern was also from a magazine and was suggested as a wedding gift.  Unfortunately the birds were damaged while I was cutting them out.  Still the rest came out very well.


In some ways I suppose that the combination of Scherenschnitte and Pergamano just doesn't sound right, but that never stopped me before!  In fact I was surprised the other day when I went looking for pergamano supplies at http://www.ecstasycrafts.com/  All I can say is WOW!  They offer so many interesting supplies that anyone doing paper art will find something there.  But then I got to thinking that with so many different tools pergamano is a lot easier then when I started learning it 15 years ago.  Since I have been learning lace making it was only natural that making paper lace would become yet another hobby.  Unfortunately pergamano was beyond my skills.  I found that embossing the parchment was extremely difficult, just pressing down on the paper a little too much will cause a tear.  Pergamano can be a very frustrating hobby.  Finally I ran out of the special parchment and couldn't get anymore.  I do still have some heavy vellum card inserts for invitations.  So when I wanted to do pergamano I could, as long as the project was small.  After trying scherenschnitte with some success I decided to try a small pergamano project.  So I got out "Parchment Craft" by Martha Ospina and the vellum inserts and looked for an easy project.  The book "Parchment Craft" is a good book for learning pergamano and all of the gallery pieces have patterns, which is really great.  So looking through the book for something easy to make I found a fan pattern.  Without actual instructions I had to make some guesses on how to put the fan together.  But at least the fan pieces were marked clearly as to what tools to use.  The four needle tool gave me some problems, I had trouble lining up the tool so some of them were a bit crooked.  Not knowing how many piece were needed for the fan I started with 12.  For every good fan piece I made one was ruined.  After several hours I finally had 12 pieces and put them together using a brad.
 
 
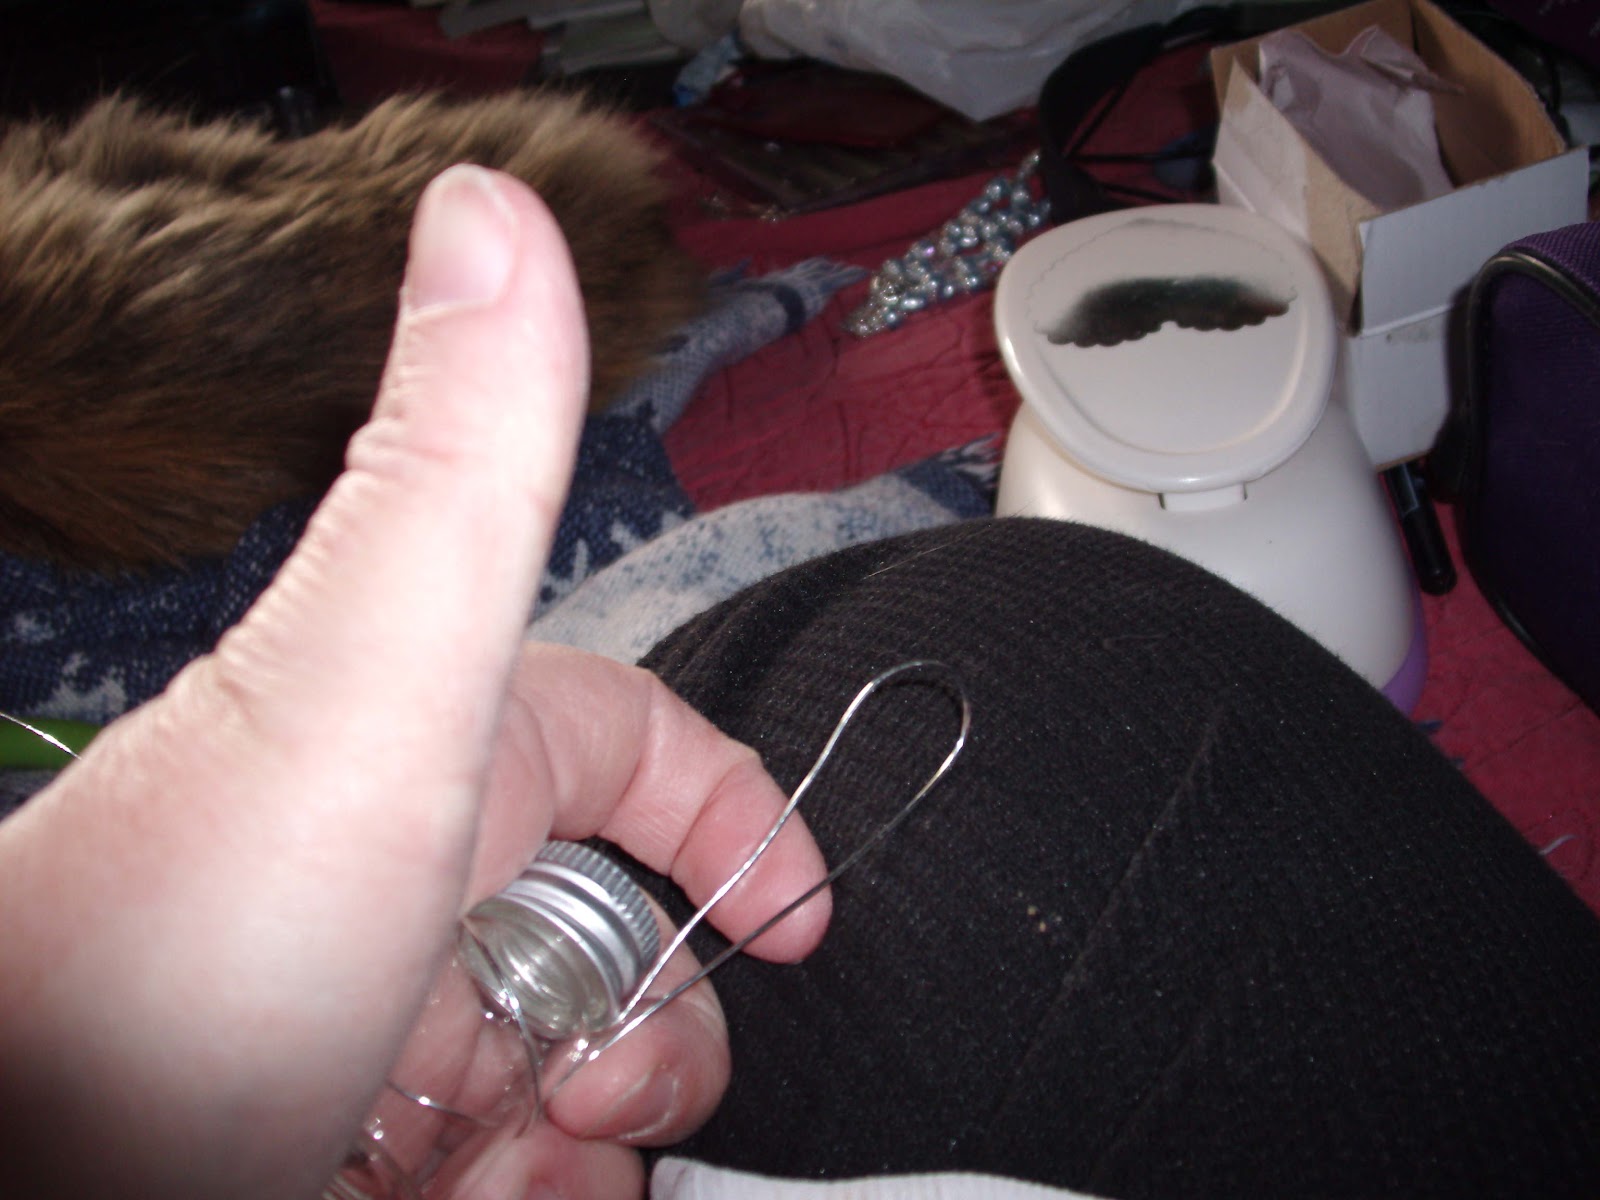
Fan pieces being added to a brad.

 
Close-up of pergamano fan pieces.
 
 
Fan pieces.

 
A different angle.
 
The fan is not completed yet but it is a good start.  The fan was good practice for me and the embossing is getting easier to do.  I believe another six pieces should fill out the fan nicely.  There was a lot of trouble with getting the pieces aligned, it took me over an hour!  I thought that each piece would fit together but no such luck.  So I went back to the book and after staring at the gallery image I realized that thread was wrapped around each piece in a back stitch!  So the fan is permanently forced open!  The gallery image was also colored so I am thinking of doing that before finishing the fan.  So there is still a lot to do to finish this practice project.  Once I've practiced some more I hope to design a Scherenschnitte, pergamano and paper embroidery piece.

Thursday, May 31, 2012

Paper Flower Tutorial


Close-up of bouquet.


Finished bouquet.


Enough time has passed that I can now tell how we made 900 paper flowers for my nieces wedding reception. 

My sister's first child gave her mom 3 weeks to plan and execute a wedding for 300 guests.  Her first son gave her 3 hours to get dressed and to the radio station to see him married.  Her second son gave her a 3 year warning.  So it shouldn't come as a surprise that the bride in the above picture gave her mom a 3 month deadline!  Three months and only 200 guests would be easy.  My sister has helped with many weddings and other social events and can do anything!

So they started out with a wedding without flowers.  I don't know exactly why but it does seem sad watching the flowers die afterwards and she wanted an uncommon flower, something like a windflower. Not to mention wedding flowers are expensive!   So a travel on a train theme was decided on, circa 1940s.  Then she saw a bridal bouquet made of  paper flowers.  My sister is a paper artist so this was perfect!  The  bridal bouquet above has over 100 paper flowers and is amazingly beautiful.  Next she wanted all the bridesmaids to carry smaller bouquets in light purple and white.  They started making them when it was decided to not have bridesmaids.  So why not just use them on the tables at the reception.  So suddenly hundreds of flowers needed to be created,  So we had people punching scalloped hearts fom white and light purple paper.  Others making the flowers and my sister doing it all and made the bouquets all by herself.  In the end we had 15 1/2 bouquets for the reception tables.  The flower design was created by my sister Pattie and I have her permission to create the tutorial.  I suggest you visit her blog, it is a real treat! 
http://paperplates-pjbeach.blogspot.com/

Table centerpieces at the wedding.  Travel theme included old suitcases
picture of couple with an old train, paper flower bouquet and
congratulations banners to wave as the couple leaves.

Enough rambling, now for the tutorial.

What you will need for a flower, scalloped hearts of the
same size, a thin stick or dowel and a hot glue gun.


Step 1: Punch or die-cut 10 to 12 scalloped hearts the same size.  You may want to use scrap paper first before cutting a  lot of hearts.  I used the Spellbinder's scalloped heart to cut the petals out because it has 6 heart sizes..  But if you are going to make a lot of flowers Pattie suggest a punch because it is faster.


Step 2:  Next with hot glue adhere the dowel to the side of heart.  Make sure the dowel is below the top of the heart.  As you see in the picture, you can use miscuts for the center.


Step 3: Roll the paper around the dowel and glue the shape closed.


Step 4: Glue the flower to the middle of the second heart. Always make sure that the flower is glued to the next petal slightly above the heart. 


Step 5: Roll one side of the heart loosely around the flower to the center and then the other side around that.  The reason that the flower is glued to the middle of this heart is that it forces a space around the center of the flower.  Glue the petal closed.  At this point you may need to pinch the bottom of the flower and put extra glue on the bottom to hold it in place,


Step 6:  Glue the bottom of the next heart to the flower, seam side edge into the glue.    Make sure the flower is slightly above the top of the heart.  Roll one side of the heart then the other and hot glue in place,  I put a small amount of hot glue near the edge of the heart.  Think of this like adding a tube around the center.  From the top you should see some space but not a lot.  Just like looking into a rose.  Continue telescoping the flower it is important to the look..

Step 7: Keep adding petals by gluing at the bottom of the flower and glueing it closed around the flower center.


Step 8: Eventually you will need to add two petals at a time because the width of the rose.  Just like before centering a new heart over the previous petal edge and glue at the bottom.

Step 9: You can stop at anytime, adding more petals for a larger flower.  By now it should look like a flower.  Be sure to glue the flower edges to stabilize the flower.


Finished flower.

The individual flowers look a bit strange alone.  This is because of the telescoping.  For individual flowers I would not telescope them,

Putting it together.

Pattie glued a styrfoam ball to a candlestick.  Then glued flowers to the ball keeping thr round shape.  The flower dowel needs to be cut off short because long ones will keep other flowers from being set into the styrfoam.  it is a bit tricky, perhaps Pattie will be up to making a tutorial!

I hope this was helpful.  Please let me know if the instruction are clear.  I would love to see what was made with the tutorial.

Enjoy your crafting.

Wednesday, May 30, 2012

Jewelry for the Wedding guests

For the wedding I made several necklaces.  The idea was to have something to remember the occasion.   So I made every woman in the family, who attended the wedding, a pearl necklace.  Each was different and made to go with their outfits.  Unfortunately I didn''t take pictures of the finished pieces in all of the confusion of getting the chapel decorated.  The photographers didn't take many pictures of family.  So all I have are pictures of necklaces without clasps.


For Tara I made a necklace of black crystal and cream pearls. 
Her dress was 50's style cream fabric with black polka dots. 


This was my necklace to wear with a vintage blue dress from the 1980's. 
The outfit cost $2.00 from the Thrift store where I bought the wedding dress.


This was Nichol's pearl and amethyst necklace.  I used smaller pearls so that they would be in proportion with the amethysts.  She wore a grey top and skirt to the event.

If I find better pictures I will post them.  But I think this illustrates the idea of pulling the pearl theme of the wedding together with the wedding guests.  It also shows how differently pearls can be presented using different accents.

Friday, April 27, 2012

Wedding wish jars tutorial

For the wedding my niece wanted wish jars, the idea was that everyone would write a wish and place it in a jar hanging from a tree.  We tried ribbons and silk flowers but the jars were cute but not what the bride wanted,  So we tried wire wrapping.  The first one I tried making a canning jar type of wrap but that took to long and was overly complex.  So I went back to try again and this is what we decided on.

Image Nixon Wong Photography

How to wire wrap a jar.


Finished jar.

Step 1: Take a piece of wire, I used 20 gauge Zebra wire.  Start with pliers and bend the wire around one arm of the pliers creaing a loop.  Work off the spool to save wire.


Step 2 : Keep wrapping a spiral with the pliers or change to a wire straighting tool.  The straightening tool won't leave marks on the spiral. Keep wrapping the spiral, until it is one quarter to one third the size of the bottom of the jar.  But make it large enough to hold the jar inside the wire wrapping.


Making the spiral


Finished spiral.

Step 3: Now bend the wire nearly straight up.  Hold the spiral to the bottom of the jar and start bending the wire around the jar.  Keep wrapping until the wire is to the edge of the jar lid.  Wrap the wire half way around the jar edge.  This will give the wrap stability.


Wrapping wire around jar.


Wrap at edge of jar lid.

Step 4: Bend wire at straight up from the jar edge.  Take time now to make sure that the wrapping is tight and that the spiral is supporting the jar bottom.


Make hanging loop.

Step 5: Bend wire into loop to hang the bottle from. leave about three inches of wire below the loop. This is for closing the loop with a wrap.  Cut wire.  If you want a charm on the wire wrap add it to the loop.


Cut wire with charm added.

Step 6:  Bend the cut wire end 90 degrees.  Hold the two wires together with pliers and then wrap the cut end around the bottom of the loop wire.  At this point it is easier to wrap without the jar.  Also be careful not to drop any charms while closing the loop.


Starting the wire end wrap.


Finished closure.


Step 7:  Place the jar back ino the wire wrap, it may need to be tightened again.  Hang the bottle on a tree like we did or if you make a small loop it would make a nice pendent.


Wish jars on tree for wedding guests.


If you found this interesting lease leave me some feedback.

Thursday, April 26, 2012

Back from the trenches


After recovering from carpel tunnel we started in on the wedding,  Of course by this time I had gone to the dollar store in Solvang five or six times buying fabric.  I purchased nearly thirty yards of white crepe, twenty yards of purple satin, fifty yards of purple tule and a bolt of purple satin that was a gift from a friend and some odds and ends.  So we were ready fabric wise anyway. The bride didn't want anyone to know what the wedding was to look like so she asked us not to post images online.  She did get married Saturday April 21st.

At first the bride wanted a nice wedding without flowers.  They went with the "journey" theme.  Starting out on the great adventure that is marriage.  They decided on a 1940's look to the event, so a train theme emerged.  So the invitations were tickets one for the wedding and the other for the reception.  They were designed by my niece and my sister bought lovely purple folders to send them in.  That took several days to finish up mostly because of the lack of time for the ceremony.  We worked all weekend putting the invitations together.  Many thanks to everyone for their hard work.  The total for the invitations including the postage was less than a dollar each.  About 200 were mailed.


Invitations


At this point we had less than three week to pull a wedding together!  I was really worried that no one would come because of the late invitations and the bride's cousin was getting married the day before.  Keep reading the blog to see if we survived!